
From Sketch to Screen: A Step-by-Step Guide to Digital Illustration


Introduction to Digital Illustration
In the ever-evolving world of art, digital illustration stands out as a versatile and dynamic medium. Whether you're a seasoned artist or just starting, understanding the process from sketch to screen can elevate your creative projects. This guide will walk you through each step, ensuring that your digital illustrations are both professional and captivating.

Gathering Your Tools
Essential Software and Hardware
Before you begin, it's crucial to gather the right tools. The primary tools for digital illustration are a computer, a graphic tablet, and illustration software like Adobe Illustrator, Corel Painter, or Procreate. A graphic tablet, such as those from Wacom or Huion, allows for greater precision and control, mimicking the natural feel of drawing on paper.
Choosing the Right Software
The software you choose depends on your style and needs. Adobe Illustrator is perfect for vector-based illustrations, while Procreate is ideal for intuitive sketching on iPads. Experiment with different programs to find what suits your workflow best.

The Sketching Phase
Conceptualizing Your Idea
A successful illustration begins with a strong concept. Start by brainstorming ideas and sketching rough drafts on paper or digitally. This phase is about exploring composition, perspective, and overall design. Don't hesitate to create multiple sketches to refine your ideas.
Creating a Digital Sketch
Once you're satisfied with your concept, it's time to transition to a digital sketch. Use your chosen software to create a rough outline. Keep your lines loose and fluid, focusing on capturing the essence of your idea rather than details.

Building the Foundation
Layering Techniques
One of the advantages of digital illustration is the ability to use layers. Begin by setting up your base layer for the background and additional layers for different elements of your illustration. This method helps in making adjustments without affecting the entire image.
Refining Your Sketch
With your layers in place, refine your sketch by adding details and tightening your lines. Use a smaller brush size for precision work. This stage is about building a solid foundation for your final image.
Adding Color and Texture
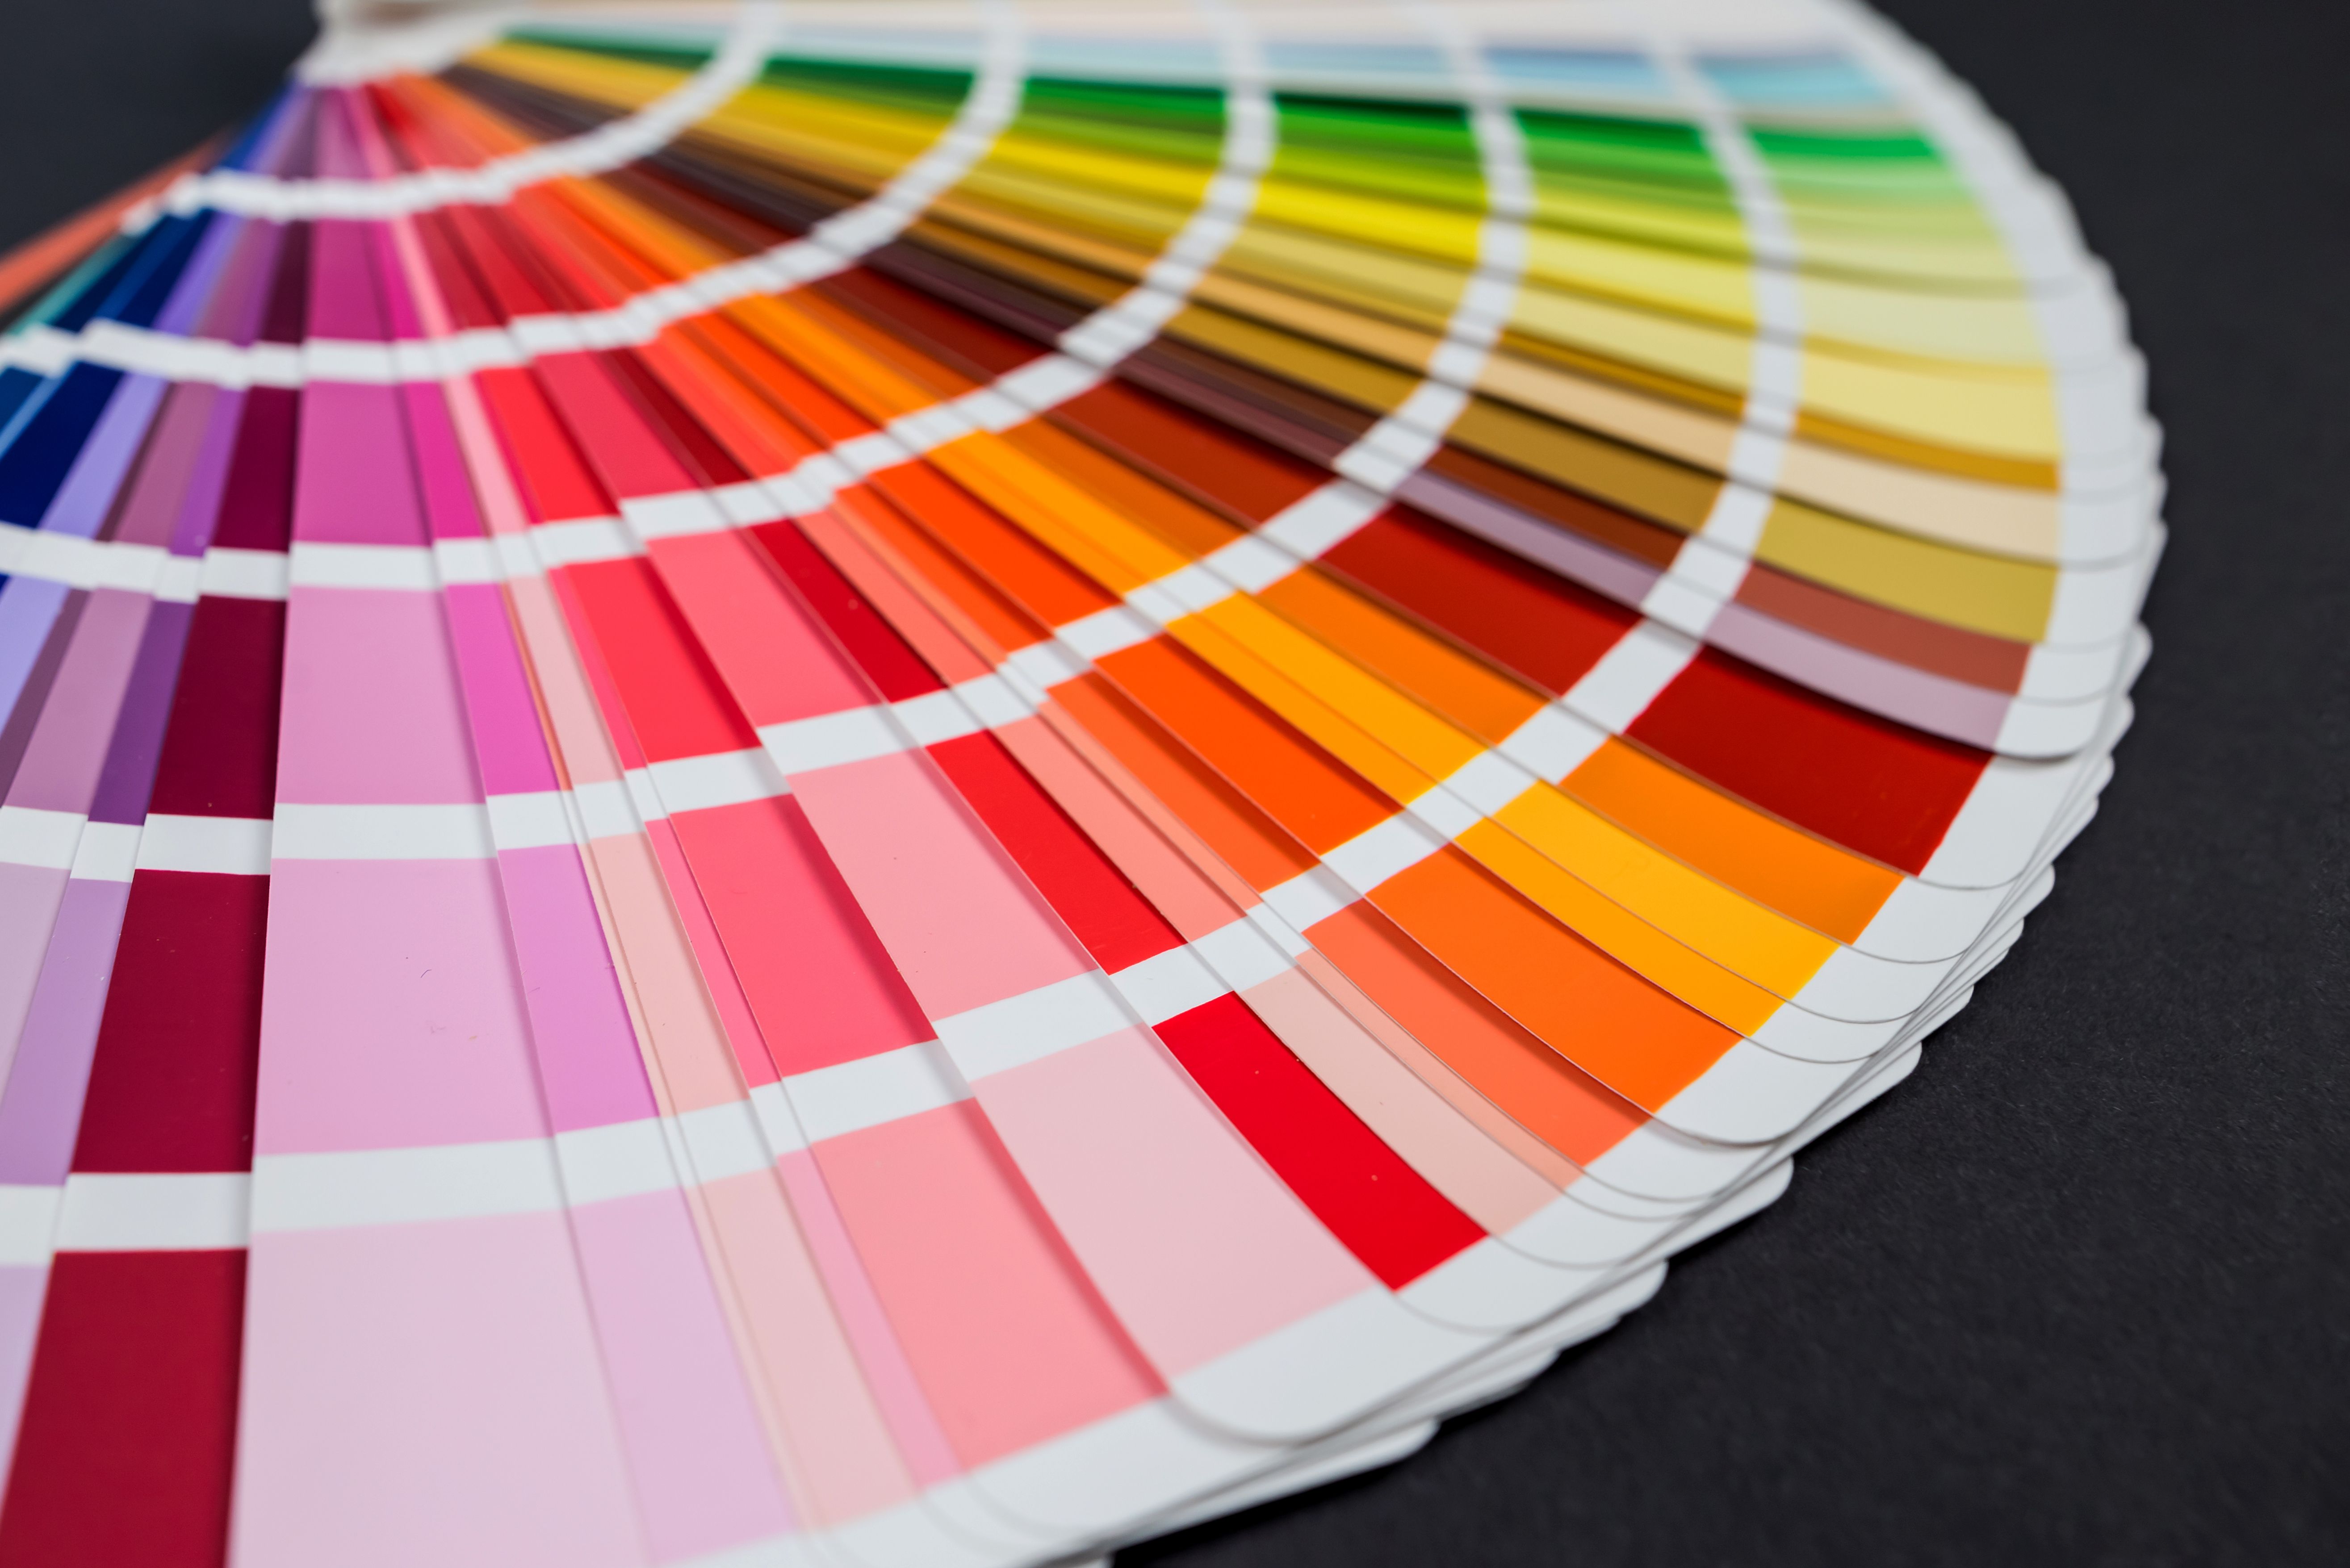
Color Selection and Application
Choosing the right color palette is essential to convey the mood and tone of your illustration. Experiment with different color schemes and consider using tools like Adobe Color Wheel for inspiration. Apply base colors to each element on separate layers for easy adjustments.
Incorporating Textures
Textures add depth and realism to digital illustrations. You can create textures using brushes or import them from external sources. Experiment with blending modes to integrate textures seamlessly into your artwork.
Final Touches
Lighting and Shadows
Enhance your illustration by adding lighting and shadows. This adds dimension and helps guide the viewer's eye through the artwork. Use soft brushes and adjust opacity levels to achieve realistic effects.
Review and Export
Once satisfied with your illustration, take a step back and review it as a whole. Make necessary adjustments to balance composition, contrast, and color. Finally, export your illustration in the desired format for sharing or printing.

Conclusion
Digital illustration is a rewarding journey that combines creativity with technology. By following these steps from sketch to screen, you'll be well-equipped to produce stunning artwork that captivates audiences. Keep exploring new techniques and tools to continuously evolve your digital art skills.